So, How to Create Industry Quality Vocals?
Are you an aspiring singer or music producer looking to create studio-quality vocals? In this comprehensive guide, we’ll walk you through the essential steps, techniques, and tools to help you achieve professional-sounding vocal recordings, whether you’re on a tight budget or have access to top-of-the-line equipment.

Understanding the Key Elements of Professional Vocal Recordings
Before we dive into the specifics of how to create industry-quality vocals, let’s explore the fundamental aspects that contribute to professional-sounding recordings:
- Vocal Technique: A solid foundation in proper singing techniques, such as breath control, intonation, and resonance, is crucial for achieving industry-quality vocals.
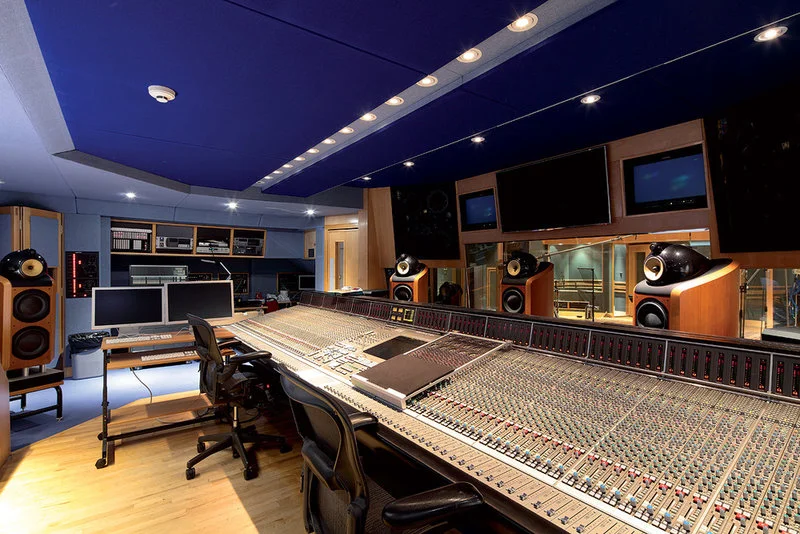
- Recording Environment: The space in which you record your vocals plays a significant role in the overall quality of your recordings. Factors like room acoustics, soundproofing, and background noise can greatly impact the final result.
- Microphone Selection: Choosing the right microphone for your voice and recording needs is essential for capturing the nuances and character of your vocals when creating industry-quality vocals.
- Microphone Technique: How you position yourself and the microphone during recording sessions can significantly affect the clarity, presence, and overall quality of your vocals.
- Vocal Processing: The use of various hardware and software tools to edit, enhance, and shape your vocal recordings is key to achieving polished, radio-ready results.
By understanding and addressing each of these elements, you’ll be well on your way to creating industry-quality vocals that stand out from the crowd.

Building Your Industry Quality Vocals
Now that you grasp the key elements of professional vocal recordings, let’s explore the essential hardware and software components you’ll need to build your vocal recording setup.
Hardware Essentials
- Microphone: Invest in a quality microphone that suits your voice and recording needs. Some top choices include:
- Best of the Best: Neumann U87, Sony C800G, AKG C414 XLII
- Budget-friendly Options: Rode NT1-A, Audio-Technica AT2035, Shure SM7B
- Audio Interface: An audio interface is essential for connecting your microphone to your computer and converting analog signals to digital. Consider options like:
- Best of the Best: Universal Audio Apollo Twin X, RME Babyface Pro FS
- Budget-friendly Options: Focusrite Scarlett 2i2, PreSonus AudioBox USB 96
- Headphones: Quality headphones are crucial for monitoring your vocals during recording and editing. Some popular choices include:
- Best of the Best: Beyerdynamic DT 1990 Pro, Sennheiser HD 800 S
- Budget-friendly Options: Audio-Technica ATH-M50x, Sony MDR-7506
To learn more about choosing the right microphone for your needs, check out our in-depth guide on microphone selection for vocal recording.
Software Essentials
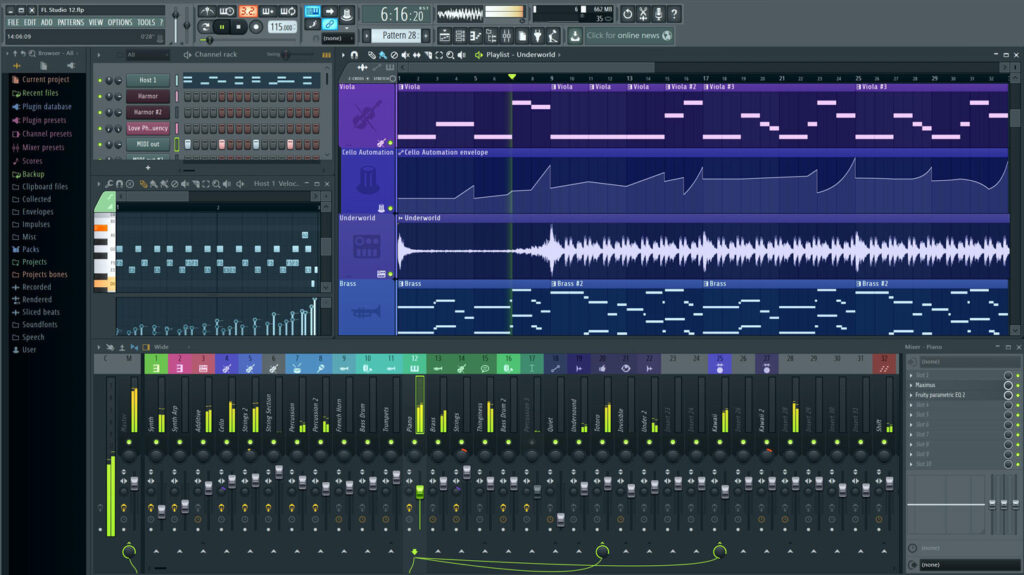
- Digital Audio Workstation (DAW): A DAW is the centerpiece of your vocal recording and production setup. Two industry-standard options are:
- FL Studio
- Ableton Live
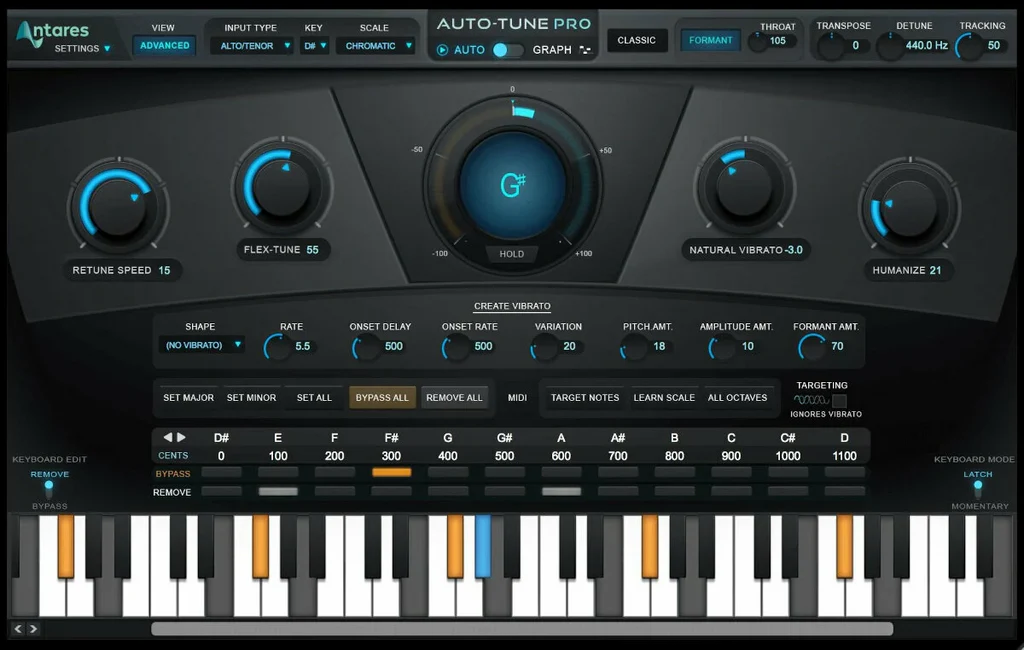
- Vocal Editing and Pitch Correction: Tools like Celemony Melodyne and Antares Auto-Tune are essential for polishing your vocal performances.
- Vocal Processing Plugins: A variety of plugins are used to shape and enhance your vocals, including:
- EQ: FabFilter Pro-Q 3, Waves Renaissance EQ
- Compression: Waves CLA-2A, FabFilter Pro-C 2
- Reverb: Valhalla Room, FabFilter Pro-R
- Delay: SoundToys EchoBoy, FabFilter Timeless 3
For a more comprehensive look at essential vocal processing plugins, read our article on must-have plugins for vocal production.

Crafting the Perfect Recording Environment for Industry-Quality Vocals
The space in which you record your vocals can significantly impact the quality of your recordings. Here’s how you can optimize your recording environment to achieve industry-quality vocals:
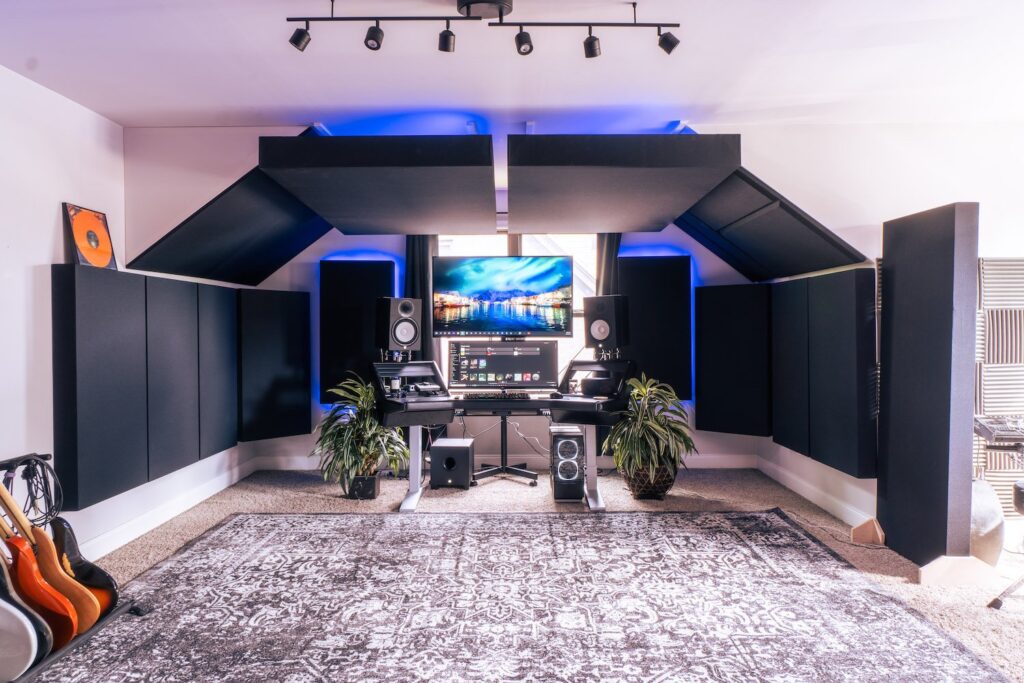
Acoustic Treatment
Acoustic treatment involves controlling the reflections and reverberation in your recording space. Here are some tips:
- Use acoustic panels or foam to absorb sound reflections on the walls and ceiling.
- Place bass traps in the corners of the room to reduce low-frequency buildup.
- Hang blankets or use movable gobos to create a makeshift vocal booth.
Soundproofing
Soundproofing your recording space helps to minimize external noise and prevent sound from escaping the room. Consider the following:
- Seal gaps around doors and windows with weatherstripping or acoustic caulk.
- Use heavy curtains or sound-blocking blankets on windows and walls.
- Install a solid-core door with a door sweep to reduce sound transmission.
Microphone Isolation
To further reduce room noise and reflections, use a microphone isolation shield or a portable vocal booth. These tools help to create a more controlled recording environment around your microphone, essential for achieving industry-quality vocals.
By addressing the acoustics, soundproofing, and microphone isolation in your recording space, you’ll be able to capture cleaner, more focused vocal recordings. For more tips on creating the perfect recording environment, read our guide on how to optimize your home studio for vocal recording.

Mastering Microphone Technique for Industry-Quality Vocals
Proper microphone technique is essential for achieving clear, professional-sounding vocals. Keep these tips in mind:
- Maintain a consistent distance from the microphone (typically 6-12 inches) to ensure a balanced and controlled sound.
- Use a pop filter to minimize plosives and a shock mount to reduce handling noise.
- Experiment with microphone placement to find the “sweet spot” that captures the best tone for your voice.
- Be mindful of your dynamics and adjust your distance from the microphone accordingly.
💡 Pro Tip: Practice proper breathing techniques and experiment with different microphone positions to find what works best for your voice and the style of music you’re recording.
For a more in-depth look at microphone technique, check out our article on mastering microphone technique for vocal recording.
Processing Your Vocals Like a Pro
Once you’ve recorded your vocals, it’s time to process them using various plugins and techniques. Here’s a step-by-step guide for FL Studio and Ableton Live to help you achieve industry-quality vocals:
FL Studio
- Editing: Use Edison or Newtone to edit your vocal takes and create a seamless performance.
- Pitch Correction: Apply pitch correction with plugins like Pitcher or Autotune to fix any intonation issues.
- EQ: Use a parametric EQ like Fruity Parametric EQ 2 to shape the frequency balance of your vocals. Focus on removing unwanted frequencies and enhancing clarity.
- Compression: Apply compression with plugins like Fruity Compressor or Maximus to control the dynamic range and add presence to your vocals.
- Reverb and Delay: Add depth and space to your vocals with reverb and delay plugins like Fruity Reeverb 2 or Fruity Delay 3. Use these effects sparingly to avoid overpowering the main vocal.
For a comprehensive FL Studio vocal processing tutorial, read our guide on how to process vocals in FL Studio.
Ableton Live
- Editing: Use the built-in Audio Editor or third-party plugins like Melodyne to edit and comp your vocal takes.
- Pitch Correction: Apply pitch correction with plugins like Ableton’s built-in Tuner or Antares Auto-Tune.
- EQ: Use Ableton’s EQ Eight to shape the frequency balance of your vocals. Focus on removing unwanted frequencies and enhancing clarity.
- Compression: Apply compression with Ableton’s Compressor or Glue Compressor to control dynamics and add punch to your vocals.
- Reverb and Delay: Experiment with Ableton’s built-in reverb and delay effects like Reverb or Echo to add depth and dimension to your vocals.
💡 Pro Tip: Use automation to create movement and interest throughout your vocal performance. Experiment with automating plugin parameters like reverb dry/wet or delay feedback to add variety and dynamics to your vocals.
For a step-by-step guide on vocal processing in Ableton Live, check out our tutorial on achieving professional vocal sounds in Ableton Live.

Conclusion: How to Create Industry-Quality Vocals
Creating industry-quality vocals requires a combination of technical knowledge, creative experimentation, and practice. By understanding the key elements of professional vocal recordings, building a suitable hardware and software setup, optimizing your recording environment, mastering microphone technique, and processing your vocals effectively, you’ll be well-equipped to produce stunning vocal performances that stand out from the crowd.
Remember, every voice is unique, and what works for one singer may not work for another. Don’t be afraid to experiment, trust your ears, and develop your own signature vocal sound. With dedication and practice, you’ll be creating radio-ready vocals in no time!
For more tips, tricks, and in-depth guides on vocal recording and production, visit our Vocal Recording Resources page.


