How to Build a Professional Vocal Recording Template/Preset (with Doubles and Harmonies)
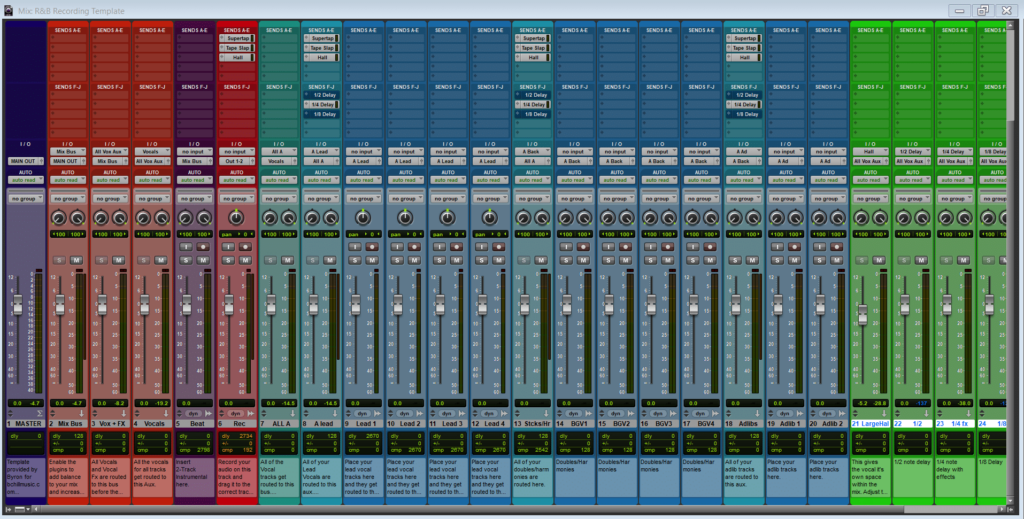
As a music producer or recording engineer, having a well-crafted vocal recording template can significantly streamline your workflow and help you achieve professional-sounding results consistently. In this comprehensive guide, we’ll walk you through the process of building a complete vocal recording template, including doubles, harmonies, side-chain setup, reverb, delay, long-tailed delay, adlibs, mic inserts, and a master chain.
Prerequisites
Before we dive into the specifics of building your vocal recording template, make sure you have the following:
- A digital audio workstation (DAW) of your choice (e.g., FL Studio, Ableton Live, Pro Tools)
- Essential vocal recording gear, such as a microphone, preamp, and audio interface
- A selection of your favorite vocal processing plugins (e.g., EQ, compressor, reverb, delay)
Step 1: Set Up Your Vocal Tracking Channel
Start by creating a new project in your DAW and setting up a dedicated vocal tracking channel. This channel will be used to record your raw vocal performances.
- Create a new mono audio track for your lead vocals.
- Set the input of this track to your microphone or audio interface input.
- Name the track “Lead Vocal” or a similar descriptive name.
Step 2: Create Vocal Processing Channels
Next, create a series of auxiliary channels for processing your lead vocal. These channels will host your various vocal processing plugins.
- Create the following auxiliary channels:
- EQ Channel
- Compression Channel
- Reverb Channel
- Delay Channel
- Long-Tailed Delay Channel
- Adlib Channel
- Route the output of your Lead Vocal channel to the input of each of these auxiliary channels.
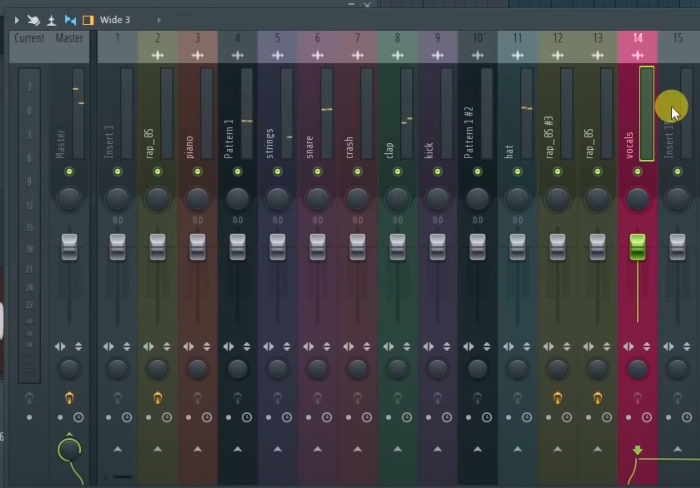
Step 3: Configure Your Vocal Processing Plugins
Now, it’s time to add your favorite vocal processing plugins to each of the auxiliary channels you created in Step 2.
EQ Channel
- Insert your preferred EQ plugin (e.g., FabFilter Pro-Q 3, Waves Renaissance EQ) on the EQ Channel.
- Set up a gentle high-pass filter around 80-100 Hz to remove low-end rumble.
- Apply subtle boosts or cuts to shape the tonal balance of your vocals, enhancing clarity and presence as needed.
Compression Channel
- Insert your preferred compressor plugin (e.g., Waves CLA-76, UAD LA-2A) on the Compression Channel.
- Set the ratio to around 2:1 to 4:1, and adjust the threshold to achieve 2-3 dB of gain reduction on average.
- Use a relatively fast attack time (1-10 ms) and a medium release time (50-100 ms) to maintain dynamic control without over-compression.
Reverb Channel
- Insert your preferred reverb plugin (e.g., FabFilter Pro-R, Valhalla VintageVerb) on the Reverb Channel.
- Choose a reverb type (e.g., plate, room, hall) that complements your vocal style and mix.
- Adjust the decay time, pre-delay, and other settings to taste, aiming for a natural, spacious sound that doesn’t overpower the lead vocal.
Delay Channel
- Insert your preferred delay plugin (e.g., SoundToys EchoBoy, Waves H-Delay) on the Delay Channel.
- Set the delay time to a rhythmic value that complements your track’s tempo (e.g., 1/4 note, 1/8 note).
- Adjust the feedback and mix settings to create a subtle, repeating echo effect that adds depth and dimension to your vocals.
Long-Tailed Delay Channel
- Insert another instance of your delay plugin on the Long-Tailed Delay Channel.
- Set a longer delay time (e.g., 1/2 note, whole note) and increase the feedback to create a more prominent, sustained echo effect.
- Automate the mix or send level of this channel to create interesting, evolving delay effects throughout your vocal performance.
Adlib Channel
- Create an additional mono audio track for recording adlibs and name it “Adlibs.”
- Route the output of this track to the Adlib Channel you created earlier.
- Apply any desired processing (e.g., EQ, compression, effects) to the Adlib Channel to help the adlibs sit well in the mix and complement the lead vocal.
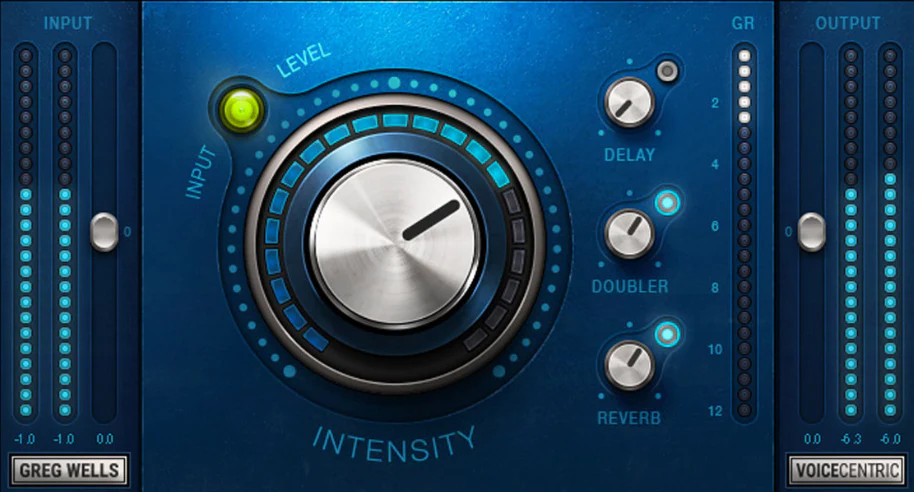
Step 4: Set Up Doubles and Harmonies
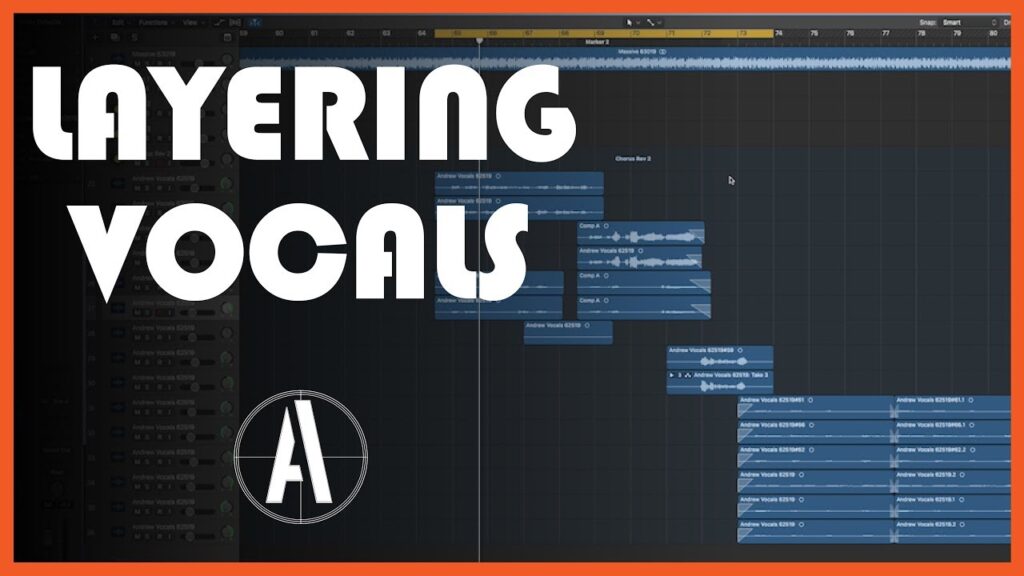
In addition to your lead vocal, doubles and harmonies can add depth, width, and richness to your vocal recordings. Here’s how to incorporate them into your template:
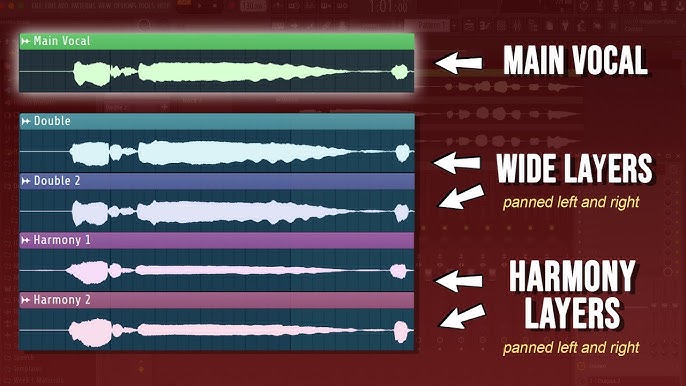
Doubling Tracks
- Create two additional mono audio tracks for recording doubles and name them “Double 1” and “Double 2.”
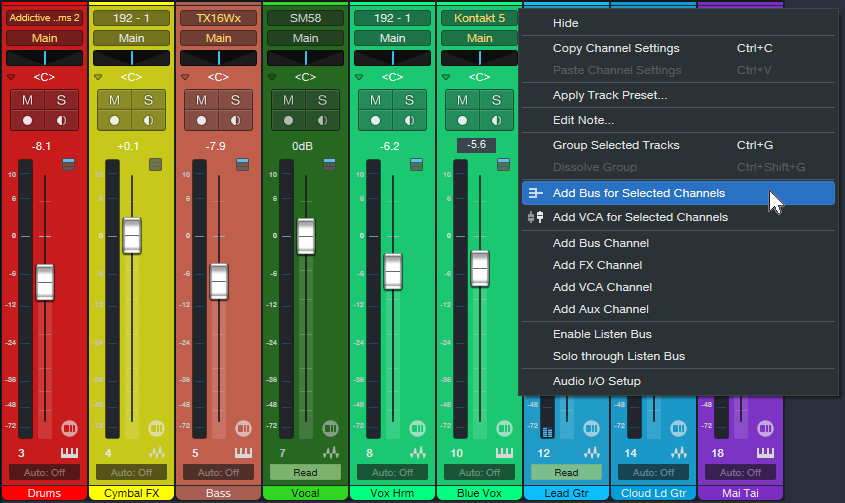
- Route the outputs of these tracks to a new auxiliary channel named “Doubles Bus.”
- Apply any desired processing (e.g., EQ, compression, effects) to the Doubles Bus to help the doubles sit well in the mix and complement the lead vocal.
- Experiment with panning the doubles slightly left and right to create a wider stereo image.
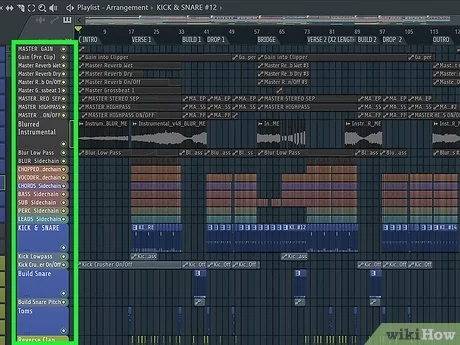
Professional Harmony Tracks
- Create three additional mono audio tracks for recording harmonies and name them “Harmony Low,” “Harmony Mid,” and “Harmony High.”
- Route the outputs of these tracks to a new auxiliary channel named “Harmonies Bus.”
- Apply any desired processing (e.g., EQ, compression, effects) to the Harmonies Bus to help the harmonies blend well with the lead vocal and enhance the overall vocal sound.
- Experiment with panning the harmonies to create a balanced and immersive stereo image.
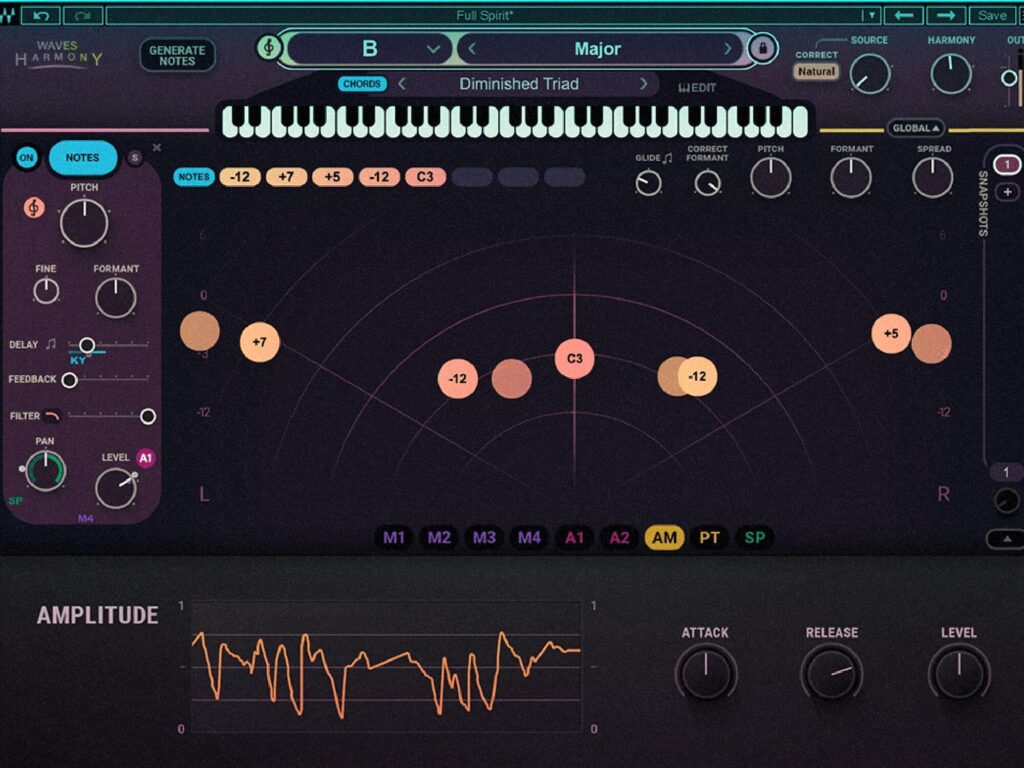
Doubles and Harmonies Processing For Your Template/Preset
- Insert your preferred pitch correction plugin (e.g., Antares Auto-Tune Pro, Waves Tune) on each double and harmony track to ensure precise intonation and timing.
- Apply gentle compression and EQ to each track to help them sit well in the mix without overpowering the lead vocal.
- Experiment with subtle reverb and delay effects on the Doubles Bus and Harmonies Bus to create a sense of space and cohesion.
Step 5: Set Up a Professional Sidechain Compression
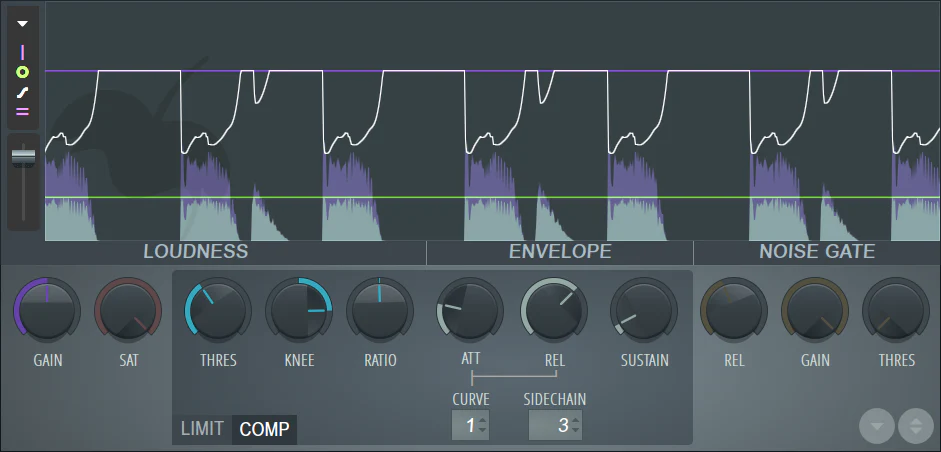
To create space for your lead vocal in the mix and ensure it remains audible and impactful, set up sidechain compression on key instrumental elements.
- Create a send from your Lead Vocal channel to a new auxiliary channel named “Sidechain.”
- Insert a compressor plugin (e.g., Waves C1 Compressor, FabFilter Pro-C 2) on the instrumental tracks you want to sidechain (e.g., drums, bass, synths).
- Set the sidechain input of each compressor to the “Sidechain” auxiliary channel you created.
- Adjust the threshold, ratio, attack, and release settings to taste, aiming for a subtle ducking effect that creates space for the lead vocal without sounding unnatural or pumping.
Step 6: Build a Professional Master Chain For Your Template/Preset
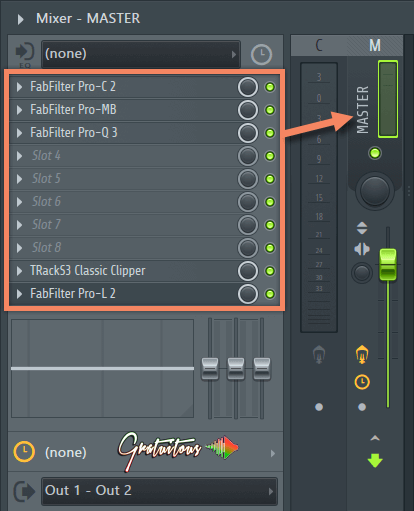
Finally, create a master chain for your vocal recording template to apply any final processing and ensure a polished, professional sound.
- Insert a high-quality EQ plugin (e.g., FabFilter Pro-Q 3, Waves LinEQ Broadband) on your master bus to make any broad tonal adjustments and ensure a balanced overall sound.
- Add a compressor plugin (e.g., Waves SSL G-Master Buss Compressor, UAD Precision Limiter) to apply gentle compression and glue your vocal mix together.
- Include a limiter plugin (e.g., FabFilter Pro-L, Waves L3 Multimaximizer) as the final plugin in your master chain to prevent clipping and ensure a consistent output level.
Step 7: Save Your Professional Vocal Recording Template/Preset
Once you’ve completed setting up your vocal recording template, save it as a new project or preset within your DAW for easy recall in future sessions.
- In your DAW, go to the “File” menu and select “Save As.”
- Choose a descriptive name for your template, such as “Vocal Recording Template.”
- Select the appropriate file format for your DAW (e.g., .flp for FL Studio, .als for Ableton Live, .ptx for Pro Tools).
- Save the template in a designated folder for easy access.
Tips for Working with Doubles and Harmonies
- Vary the performances: Encourage your vocalists to deliver slightly varied performances for doubles and harmonies to create a more natural, human feel.
- Experiment with microphone techniques: Try using different microphones or recording techniques (e.g., proximity effect, off-axis placement) to capture unique tonal characteristics for doubles and harmonies.
- Use automation: Employ volume and effects automation to create dynamic and engaging vocal arrangements that evolve throughout the song.
- Adapt to the song’s needs: Adjust the balance and processing of doubles and harmonies to suit the specific requirements of each song and arrangement.
Conclusion: How to Build a Professional Vocal Recording Template/Preset (with Doubles and Harmonies)
By incorporating doubles and harmonies into your professional vocal recording template, you can create rich, immersive, and engaging vocal productions that stand out from the crowd. Follow the steps outlined in this expanded guide, and don’t be afraid to experiment and adapt the template to suit your unique style and the needs of each project.
How to Build a Vocal Recording Studio on a Budget
Remember, the key to great vocal recordings lies in the combination of a well-crafted template, skilled performance, and creative vision. With practice and persistence, you’ll be able to deliver exceptional vocal tracks that captivate your audience and elevate your productions to new heights.
Happy recording!
