Autotune has become an essential tool for music producers and recording engineers, helping to correct pitch imperfections and ensure a polished, professional vocal performance. However, when used improperly, Autotune can result in an unnatural, robotic sound that detracts from the emotional impact of the vocals. In this guide, we’ll walk you through the steps to set up Autotune for the best natural, non-robotic sound, ensuring that your vocal tracks maintain their human feel and emotional authenticity.
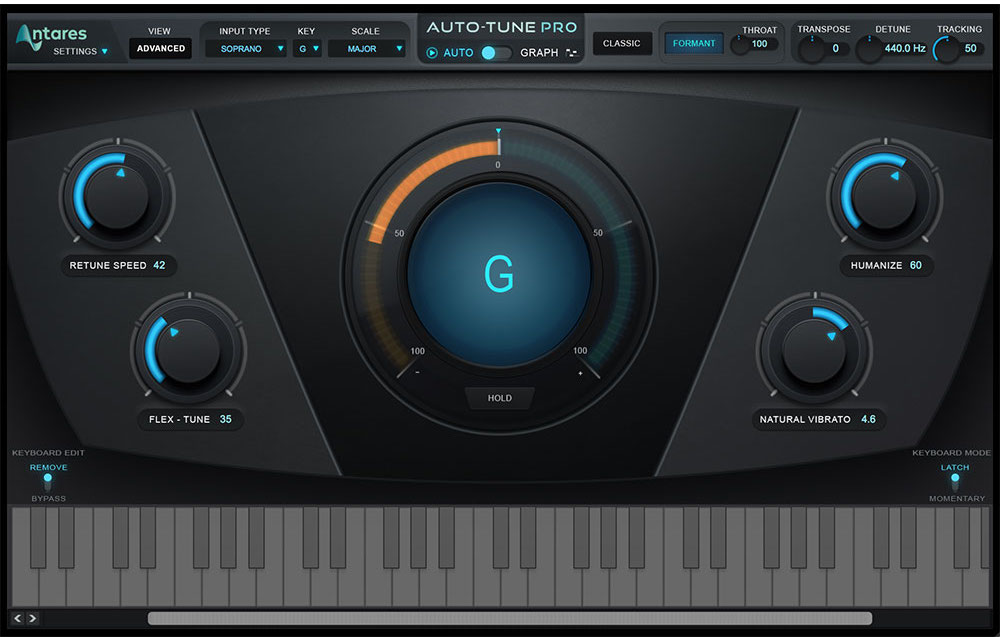
Step 1: Choose the Right Autotune Plugin
There are several popular Autotune plugins available, each with its own unique features and algorithms. Some of the most widely used options include:
- Antares Auto-Tune Pro
- Waves Tune
- Celemony Melodyne
- iZotope Nectar 3 (with pitch correction module)
When selecting an Autotune plugin for natural-sounding results, look for one that offers a range of customization options, as well as a transparent, artifact-free processing algorithm.
Step 2: Set the Autotune Key and Scale
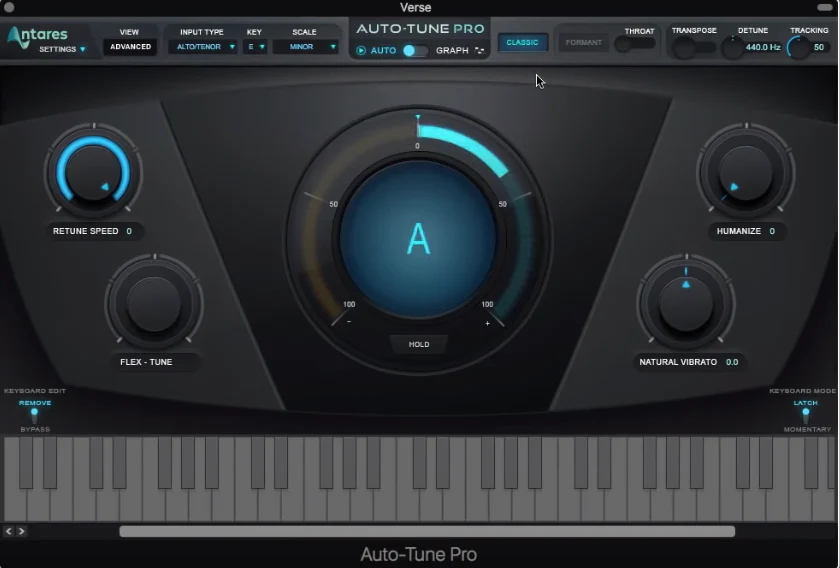
Before applying Autotune, it’s crucial to set the correct key and scale for your song. This ensures that the plugin knows which notes to correct the vocals to, based on the musical context of the track.
- Identify the key of your song (e.g., C major, A minor).
- Set the key and scale in your Autotune plugin’s settings.
- If your song modulates or changes key, create automation points to update the key and scale settings accordingly.
For More Knowlegde About Music Production
Step 3: Adjust the Autotune Retune Speed
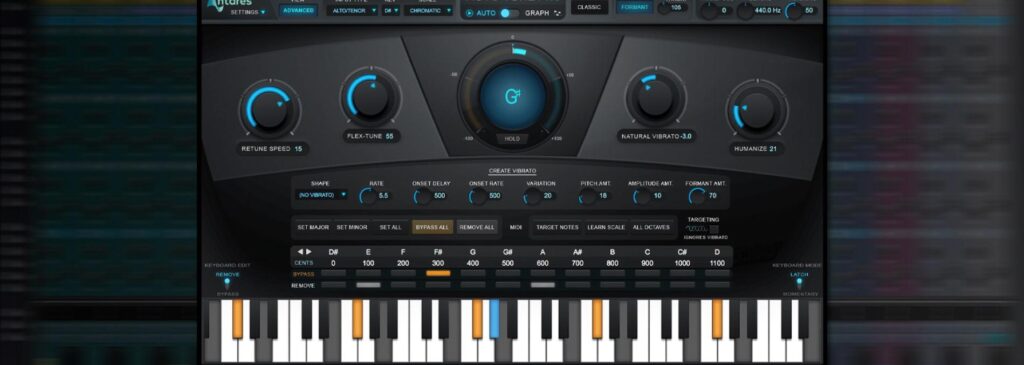
The retune speed setting determines how quickly Autotune corrects the pitch of the vocals. A slower retune speed will result in a more natural, human-like sound, while a faster speed will create the iconic “Autotune effect” often heard in modern pop and hip-hop music.
For a natural, non-robotic sound:
- Start with a relatively slow retune speed (between 20-50 milliseconds).
- Gradually increase the speed until you find the right balance between pitch accuracy and natural-sounding performance.
- Avoid setting the retune speed too fast, as this can introduce unnatural artifacts and a robotic quality to the vocals.
Step 4: Set the Humanize and Natural Vibrato Controls
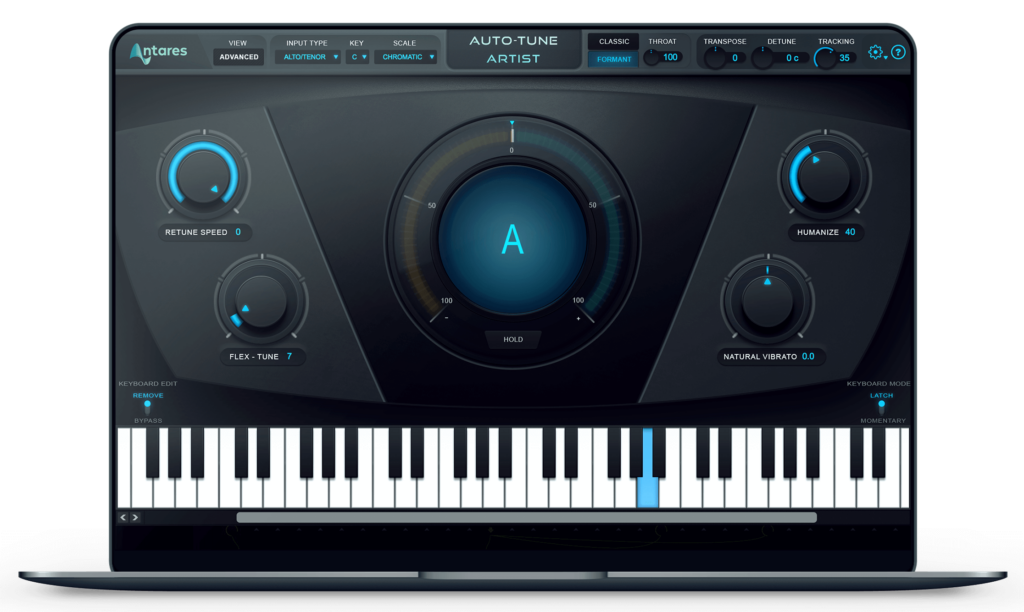
Many Autotune plugins offer additional controls to help maintain a natural, human-like sound. Two important settings to consider are:
- Humanize: This control adds subtle, random variations to the pitch correction, simulating the natural imperfections of human vocal performance. Set the humanize control to a moderate value (around 30-50%) to maintain a natural sound.
- Natural Vibrato: This setting preserves the singer’s natural vibrato while still correcting pitch. Adjust the natural vibrato control to match the characteristics of your vocalist’s performance, ensuring that their unique expression is maintained.
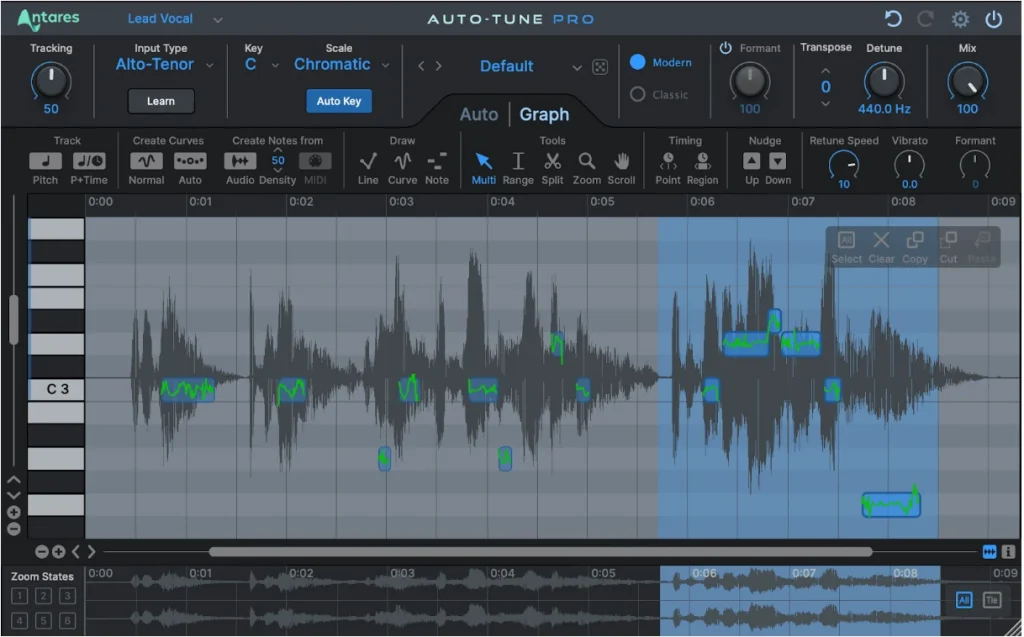
Step 5: How To Use Graphical Editing for Precise Control
For the most natural-sounding results, use your Autotune plugin’s graphical editing mode to make precise, targeted corrections to specific notes or phrases.
- Enable the graphical editing mode in your Autotune plugin.
- Identify any notes or phrases that require manual correction.
- Use the editing tools to adjust the pitch, timing, and transitions between notes, ensuring a smooth, natural-sounding performance.
Step 6: How to Apply Autotune as a Post-Effect
To maintain maximum flexibility and control over your vocal sound, apply Autotune as a post-effect, rather than recording with it enabled.
- Record your vocal tracks without Autotune.
- Apply Autotune as an insert effect on your vocal tracks during the mixing stage.
- This approach allows you to adjust the Autotune settings in the context of the full mix, ensuring the best possible blend and balance with the other elements of your production.
Step 7: Use Autotune in Moderation
To achieve the most natural, non-robotic sound, it’s essential to use Autotune in moderation. Overcorrecting the pitch or applying too much processing can result in an artificial, lifeless vocal performance.
- Start with subtle Autotune settings and gradually increase the effect as needed.
- Focus on correcting only the most noticeable pitch imperfections, rather than aiming for perfect, robotic precision.
- Trust your ears and musical instincts, and don’t be afraid to embrace a bit of human imperfection in your vocal tracks.
Conclusion: How to Set Up Autotune
Setting up Autotune for the best natural, non-robotic sound requires a balance of technical skill, musical intuition, and a commitment to preserving the emotional authenticity of the vocal performance. By following the steps outlined in this guide, you’ll be well-equipped to use Autotune in a way that enhances, rather than detracts from, the human element of your vocals.
Remember, the key to achieving natural-sounding results with Autotune is moderation, precision, and a focus on serving the song and the artist’s vision. With practice, experimentation, and a willingness to trust your ears, you’ll be able to master the art of transparent, non-robotic pitch correction, ensuring that your vocal tracks always sound their best.
Happy mixing! – WideScopeWorld.com


