How to Achieve Professional Vocal Sounds in Any DAW: As a music producer or recording engineer, achieving professional-sounding vocals is essential for creating polished, radio-ready tracks. While the specific tools and workflows may vary between different digital audio workstations (DAWs), the fundamental techniques for crafting high-quality vocal sounds remain the same. In this comprehensive guide, we’ll explore the key steps and best practices for achieving professional vocal sounds in any DAW.
Step 1: Start with a High-Quality Recording
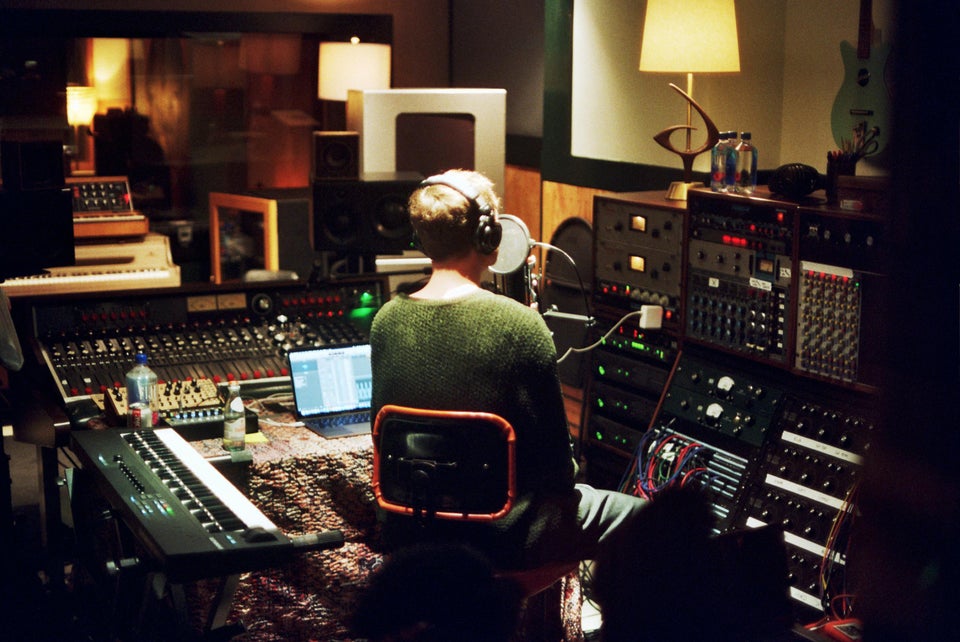
The foundation of any great vocal sound is a high-quality recording. Ensure that you:
- Use a professional-grade microphone that suits your vocalist’s voice and the style of music you’re recording.
- Record in a well-treated acoustic environment to minimize unwanted reflections and background noise.
- Set appropriate input levels to avoid clipping and ensure a strong, clean signal.
- Encourage your vocalist to deliver a confident, emotionally engaging performance.

Step 2: Edit and Comp Your Vocal Takes
Before diving into processing, take the time to edit and comp your vocal takes to create a cohesive, polished performance.
- Cut out any unwanted noise, breaths, or silence between phrases.
- Comp together the best parts of multiple takes to create a seamless, emotionally engaging performance.
- Use fades and crossfades to smooth out any abrupt transitions between phrases or takes.
Step 3: Apply Pitch Correction (If Needed)
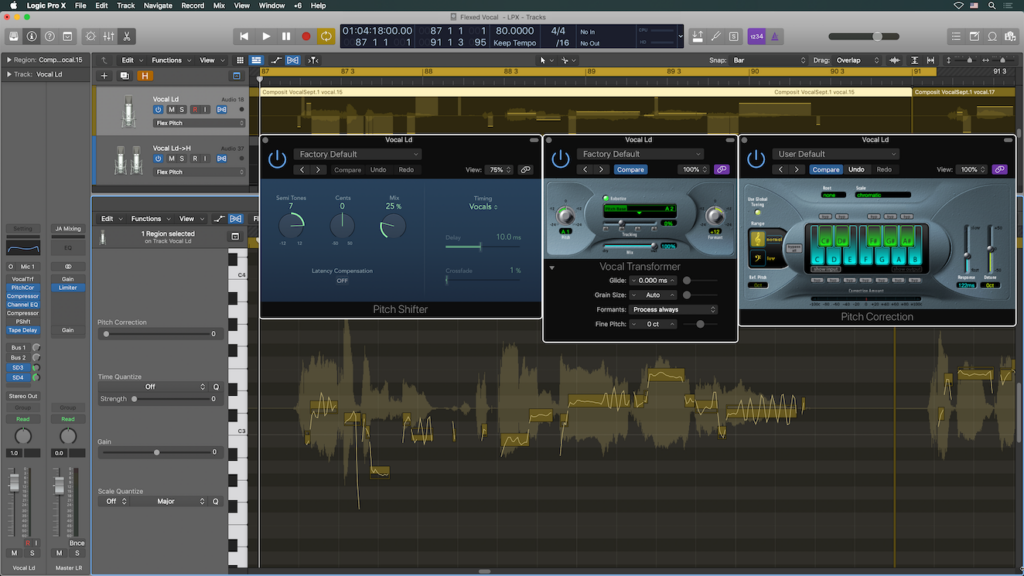
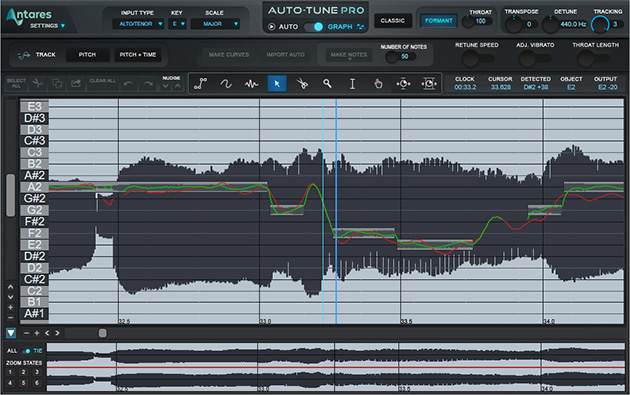
If your vocalist’s intonation is inconsistent or you want to achieve a specific stylistic effect, apply pitch correction using tools like Antares Auto-Tune, Celemony Melodyne, or your DAW’s built-in pitch correction plugin.
- Set the key and scale of your song to ensure accurate pitch detection.
- Adjust the retune speed and humanization settings to maintain a natural, organic sound (unless you’re intentionally going for the “Auto-Tune effect”).
- Manually correct any remaining pitching issues using the plugin’s graphical editing tools.
Step 4: Shape the Tone with EQ
Use EQ to shape the tonal balance of your vocals and ensure they sit well in the mix.
- Apply a high-pass filter to remove low-end rumble and mud (typically around 80-100 Hz).
- Make surgical cuts to reduce any harsh, resonant frequencies in the midrange.
- Gently boost the presence region (around 5 kHz) to enhance clarity and intelligibility.
- Add a subtle high-shelf boost to add air and sparkle (around 10-12 kHz).
Step 5: Control Dynamics with Compression
Compression is essential for controlling the dynamic range of your vocals and ensuring a consistent, polished sound.
- Set the compressor’s threshold so that it engages on the loudest peaks (aim for 2-3 dB of gain reduction).
- Adjust the ratio to taste (start with a gentle ratio of 2:1 to 4:1 and increase as needed).
- Use a relatively fast attack time (1-10 ms) to catch transients and a medium release time (50-100 ms) to maintain a natural sound.
- Experiment with parallel compression by blending a heavily compressed duplicate of your vocal track with the original signal.
Step 6: Add Space and Depth with Reverb and Delay
Achieve Professional Vocal Sounds With Reverb and delay are crucial for adding a sense of space, depth, and dimension to your vocals.
- Choose a reverb type (plate, room, hall) that complements the style and emotional content of your song.
- Adjust the decay time, pre-delay, and EQ settings to create a natural, cohesive sense of space.
- Use delay to create rhythmic echoes or a sense of width and movement in your vocals.
- Experiment with automation to vary the amount of reverb and delay throughout the song, emphasizing key moments and transitions.
Step 7: Use Saturation and Harmonic Distortion for Color and Character
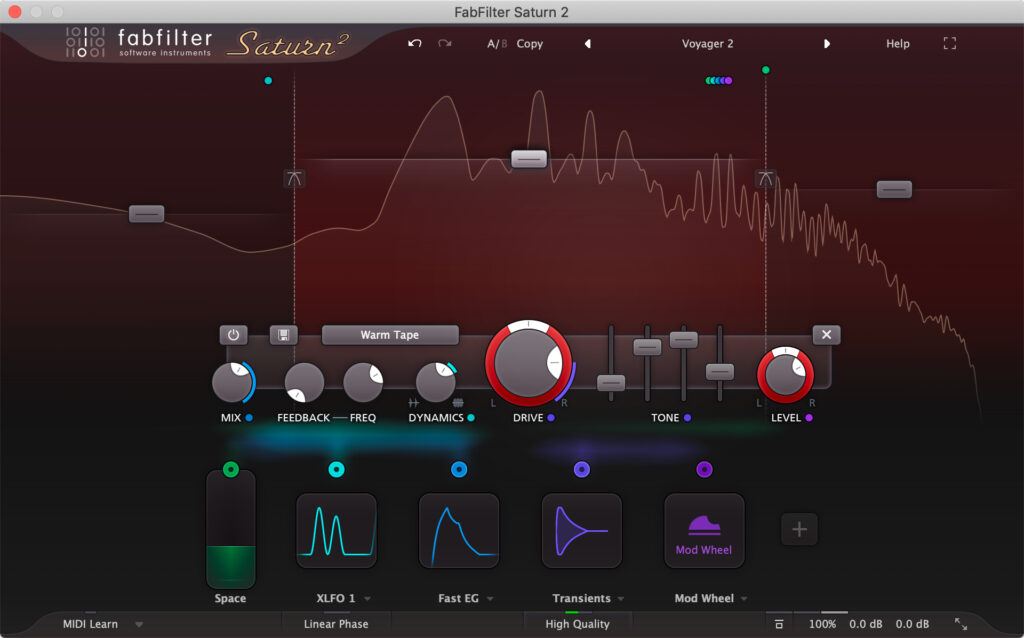
Saturation and harmonic distortion can add warmth, presence, and analog-style character to your vocals.
- Apply a subtle amount of saturation using a tape emulation plugin, tube preamp emulation, or your DAW’s built-in saturation tools.
- Experiment with different types of distortion (valve, solid-state, tape) to find the right character for your vocals.
- Blend the saturated signal with the clean vocal using parallel processing to maintain clarity and detail.
Step 8: Automate and Refine Your Vocal To Achieve A Professional Vocal Sound
Use automation to bring your vocal sound to life and refine it throughout the mixing process.
- Automate the levels of your vocal tracks to ensure consistent volume and emphasize key moments in the performance.
- Automate EQ, compression, and effects settings to create movement and interest in your vocal sound.
- Continually refine your processing chain as you mix, making subtle adjustments to EQ, compression, and effects to ensure your vocals sit perfectly in the context of the full arrangement.
Step 9: Use Reference Tracks and A/B Comparisons
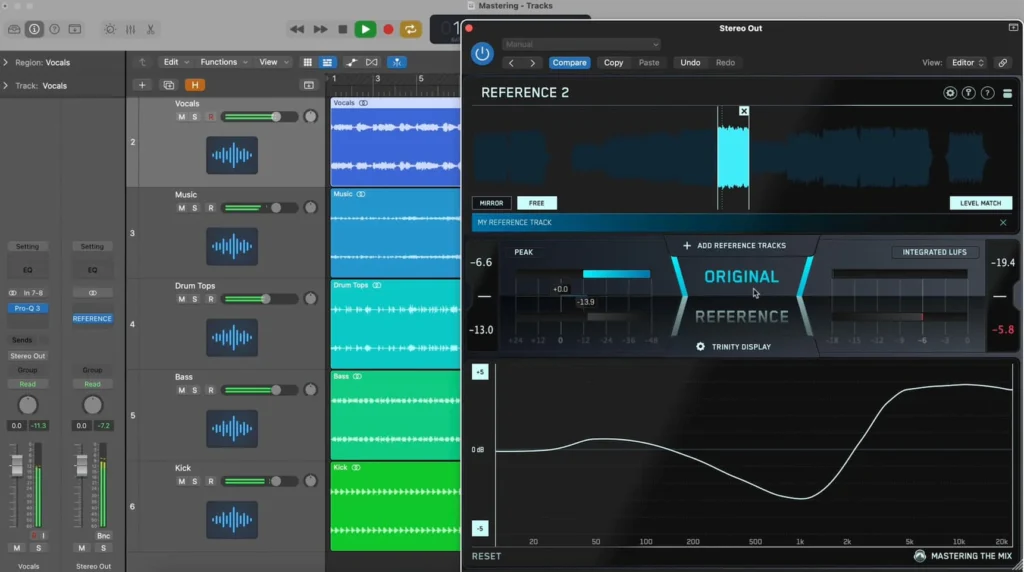
To ensure your vocal sounds are up to professional standards, regularly compare your work to reference tracks in a similar style.
- Choose high-quality, professionally mixed and mastered tracks that feature vocals similar to the ones you’re working on.
- A/B your vocal sound against the reference tracks, listening for differences in tone, dynamics, and overall polish.
- Make adjustments to your processing chain as needed to achieve a competitive, radio-ready vocal sound.
Conclusion: How to Achieve Professional Vocal Sounds in Any DAW
Achieving professional vocal sounds in any DAW requires a combination of high-quality recording, thoughtful editing and comping, and skilled use of processing tools like EQ, compression, reverb, delay, and saturation. By following the steps and best practices outlined in this guide, you’ll be well-equipped to craft polished, radio-ready vocal tracks that stand out in any genre or style.
Remember, the key to great vocal sounds is a balance of technical skill and creative artistry. Don’t be afraid to experiment, take risks, and develop your own unique approach to vocal production. With practice, persistence, and a commitment to continual learning, you’ll be able to achieve professional-sounding vocals in any DAW, no matter what tools or platforms you prefer.
Happy mixing!
