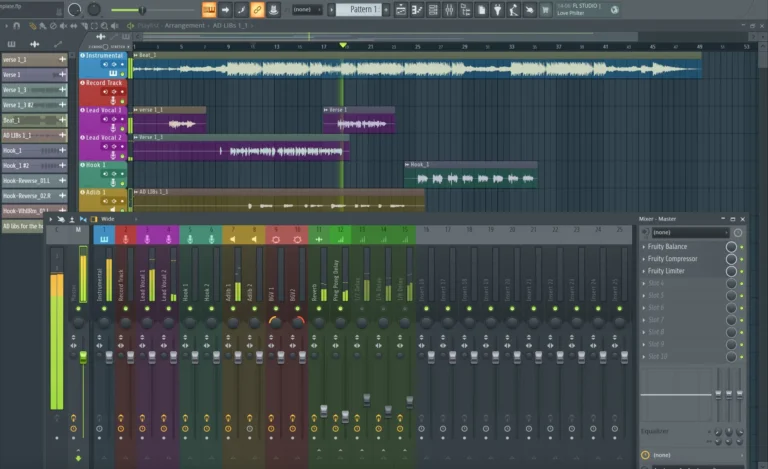
How to Build a Professional Recording Template in FL Studio: As a music producer or recording engineer, having a well-organized and efficient recording template is essential for streamlining your workflow and ensuring consistent, professional-quality results. In this article, we’ll walk you through the process of building a professional recording template in FL Studio, one of the most popular digital audio workstations (DAWs) on the market.
Why Use a Recording Template?
Before we dive into the specifics of creating a recording template in FL Studio, let’s discuss the benefits of using templates in your production workflow:
- Efficiency: A well-designed template saves you time by providing a pre-configured starting point for your projects, with essential plugins, routing, and settings already in place.
- Consistency: Using a template ensures that your projects have a consistent structure and sound, making it easier to maintain a professional quality standard across your work.
- Organization: A template helps keep your projects organized, with clear labeling and routing for different instrument groups, buses, and effects.
- Focus: By eliminating the need to set up your project from scratch each time, a template allows you to focus more on the creative aspects of your work.
How to Set Up Autotune for the Best Natural, Non-Robotic Sound
Step-by-Step Guide to Building a Professional Recording Template in FL Studio
Now, let’s walk through the process of creating a professional recording template in FL Studio.
Step 1: Create a New Project
Start by opening FL Studio and creating a new project. Go to “File” > “New” and choose a directory to save your template.
Step 2: Set Up Your Audio Settings
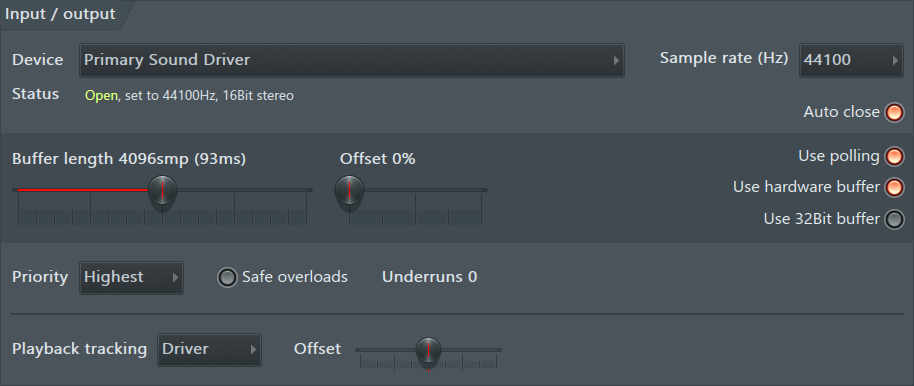
Before you begin building your template, ensure that your audio settings are configured correctly. Go to “Options” > “Audio Settings” and set your desired sample rate (e.g., 44.1 kHz or 48 kHz), buffer length, and audio device.
Step 3: Create Instrument Tracks For Your Template
Next, create a series of instrument tracks for the various elements of your productions. This might include:
- Drums
- Bass
- Guitars
- Keyboards
- Synths
- Vocals
- FX
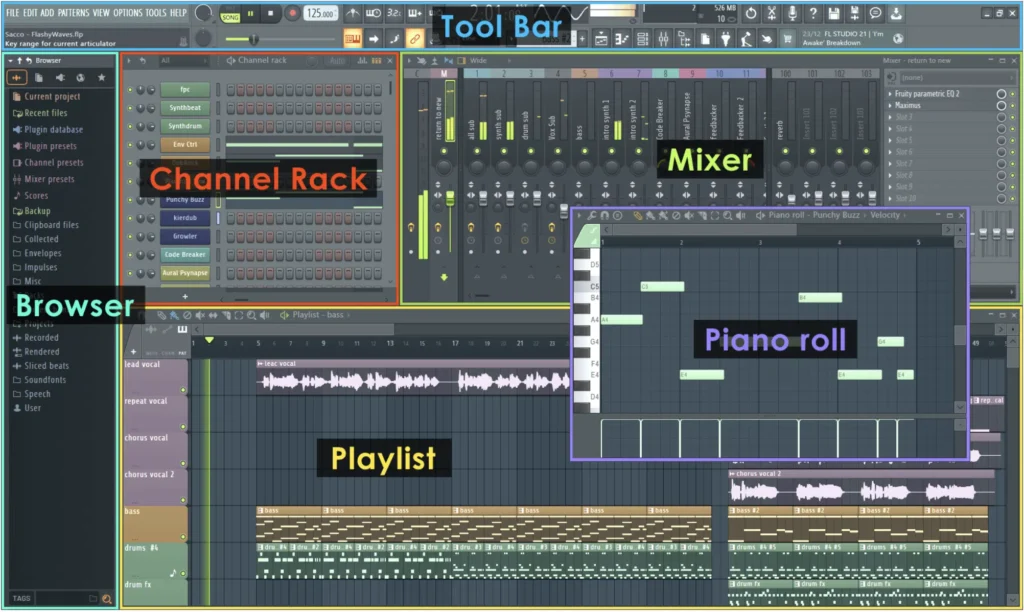
For each instrument track, load a relevant plugin or sampler, such as FL Studio’s native plugins (e.g., Fruity Loops, Sytrus) or third-party VSTs.
Step 4: Set Up Mixing Buses In FL Studio
To keep your template organized and facilitate easy mixing, create a series of mixing buses for different instrument groups. For example:
- Drum Bus
- Music Bus (for bass, guitars, keyboards, and synths)
- Vocal Bus
- FX Bus
Route the outputs of your instrument tracks to their respective mixing buses.
Step 5: Add Essential Plugins To Your Recording Template
On each mixing bus, add essential plugins that you typically use in your productions. This might include:
- EQ (e.g., FabFilter Pro-Q 3, Waves Renaissance EQ)
- Compression (e.g., Waves CLA-76, Waves SSL G-Master Buss Compressor)
- Reverb (e.g., FabFilter Pro-R, Valhalla VintageVerb)
- Delay (e.g., SoundToys EchoBoy, Waves H-Delay)
- Saturation (e.g., Softube Tape, Soundtoys Decapitator)
The 10 Must-Have Plugins for Vocal Production
Adjust the default settings of these plugins to suit your preferred starting point, but keep in mind that you’ll likely need to fine-tune them for each individual project.
Step 6: Create a Professional Master Bus For Your Recording Template
Finally, create a master bus for your template. On the master bus, add any plugins you typically use for mastering or final processing, such as:
- Limiter (e.g., FabFilter Pro-L, Waves L3 Multimaximizer)
- EQ (e.g., FabFilter Pro-Q 3, Waves LinEQ Broadband)
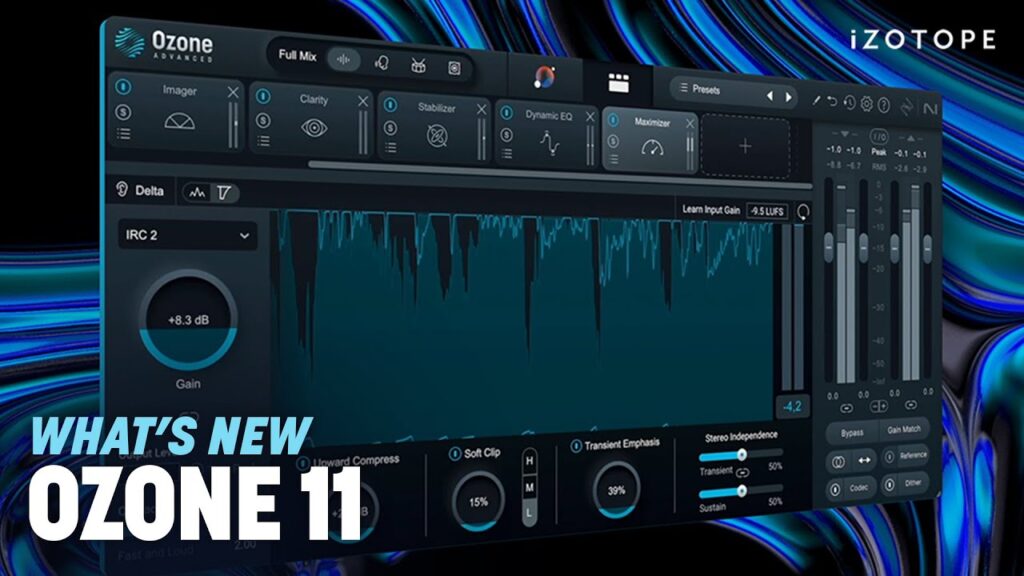
- Stereo Imaging (e.g., iZotope Ozone Imager, Waves S1 Stereo Imager)
- Metering (e.g., Waves WLM Plus Loudness Meter, Youlean Loudness Meter)
Step 7: Save and Customize
Once you’ve set up your basic template, save it as a new FL Studio template file (.flp) by going to “File” > “Save As” and choosing “Save as type: FL Studio Template (*.flp)”.
As you work with your template, continue to refine and customize it to suit your specific needs and workflows. Don’t be afraid to add, remove, or modify elements as needed.
Tips for Optimizing Your Professional Recording Template in FL Studio
To get the most out of your recording template in FL Studio, consider these additional tips:
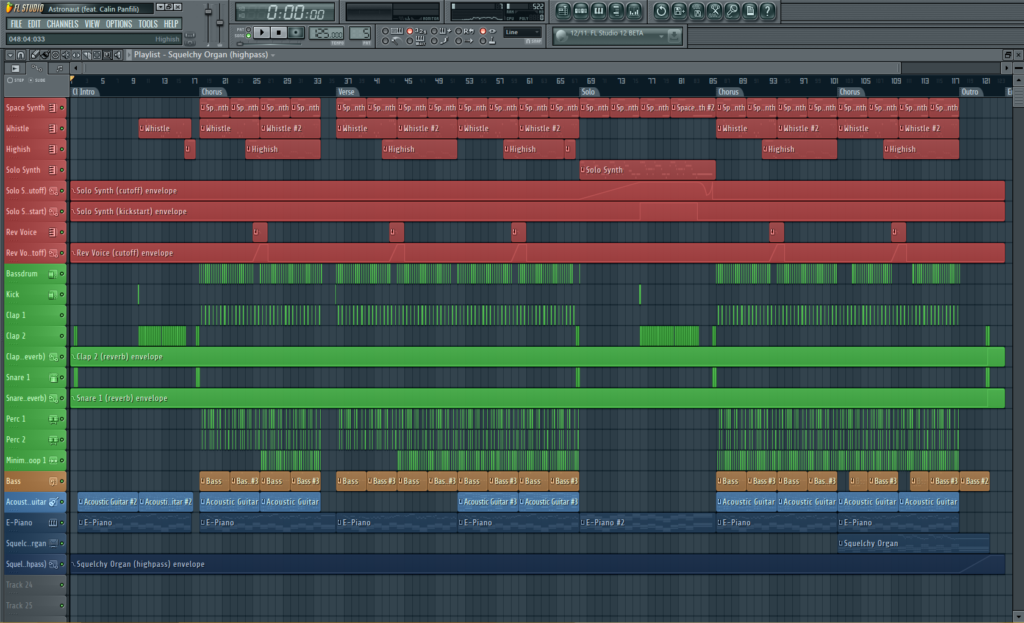
- Use color-coding: Assign different colors to your instrument tracks, buses, and plugins to make your template more visually organized and easy to navigate.
- Create variations: Consider creating multiple variations of your template for different genres, project types, or collaborators.
- Optimize for performance: Be mindful of the number and complexity of plugins used in your template, as this can impact your system’s performance. Disable or remove unused plugins to conserve CPU and RAM resources.
- Backup your templates: Regularly back up your templates to avoid losing your work in case of system failures or software issues.
Conclusion: How to Build a Professional Recording Template in FL Studio
Building a professional recording template in FL Studio is an essential step in streamlining your production workflow and ensuring consistent, high-quality results. By following the step-by-step guide outlined in this article and incorporating the tips for optimization, you can create a powerful, efficient, and customized template that suits your specific needs as a music producer or recording engineer.
Remember, a template is a starting point, not a final destination. As you work with your template, continue to refine, experiment, and adapt it to your evolving skills, preferences, and projects. With a well-crafted recording template at your fingertips, you’ll be able to focus more on the creative aspects of your work and achieve professional-quality results more efficiently than ever before.
Happy producing!
