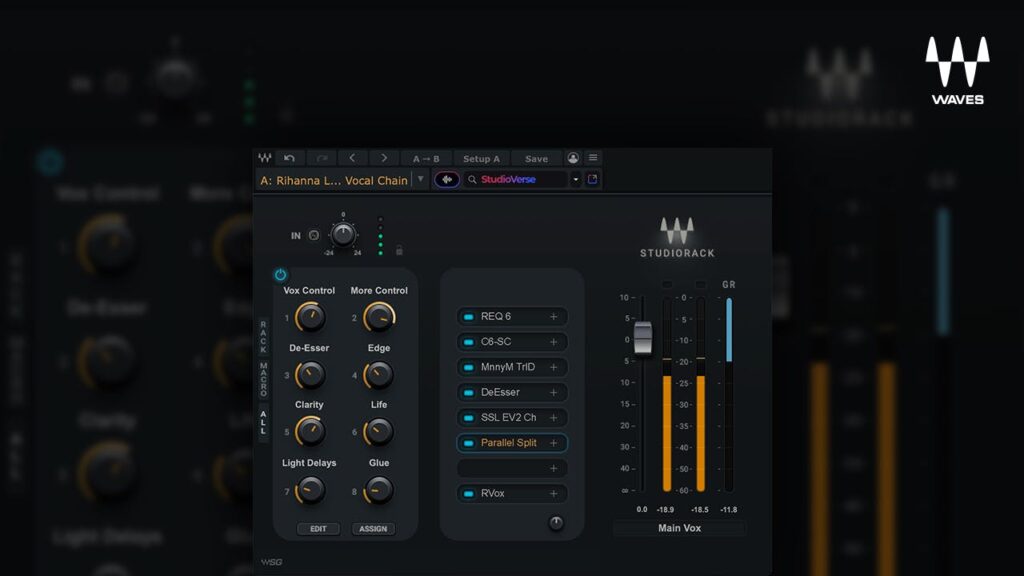
How to Build a Professional Vocal Template/Preset with Studiorack: Studiorack is a powerful tool that allows music producers and recording engineers to create custom vocal templates and presets, streamlining their workflow and ensuring consistent, professional-sounding results. In this comprehensive guide, we’ll walk you through the process of building a vocal template/preset with Studiorack, covering essential techniques such as sidechaining, compression, side compression, and more.
Prerequisites
Before we begin, make sure you have the following:
- Studiorack software installed on your computer
- A digital audio workstation (DAW) of your choice (e.g., FL Studio, Ableton Live, Pro Tools)
- A selection of your favorite vocal processing plugins (e.g., EQ, compressor, reverb, delay)
Step 1: Create a New Rack in Studiorack
Start by opening Studiorack and creating a new rack for your vocal template.
- Click on the “+” button in the top-left corner of the Studiorack window.
- Select “Create New Rack.”
- Choose a name for your vocal template rack (e.g., “Professional Vocal Template”).
Step 2: Add Vocal Processing Modules
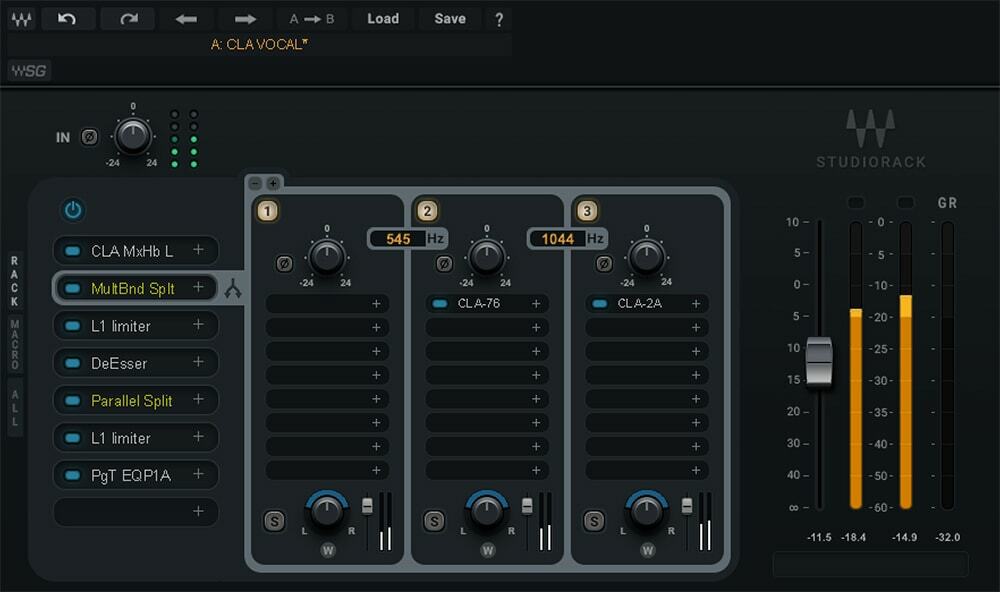
Next, add the necessary vocal processing modules to your rack. These will typically include EQ, compression, reverb, delay, and other effects.
- Click on the “+” button in the top-right corner of the Studiorack window.
- Browse through the available modules and select the ones you want to add (e.g., “EQ,” “Compressor,” “Reverb,” “Delay”).
- Drag and drop the selected modules into your rack in the desired order.
Step 3: Configure Your Vocal Processing Modules
Now, it’s time to configure each of the vocal processing modules in your rack.
EQ Module
- Open the EQ module by double-clicking on it.
- Set up a gentle high-pass filter around 80-100 Hz to remove low-end rumble.
- Apply subtle boosts or cuts to shape the tonal balance of your vocals, enhancing clarity and presence as needed.
Compressor Module
- Open the Compressor module by double-clicking on it.
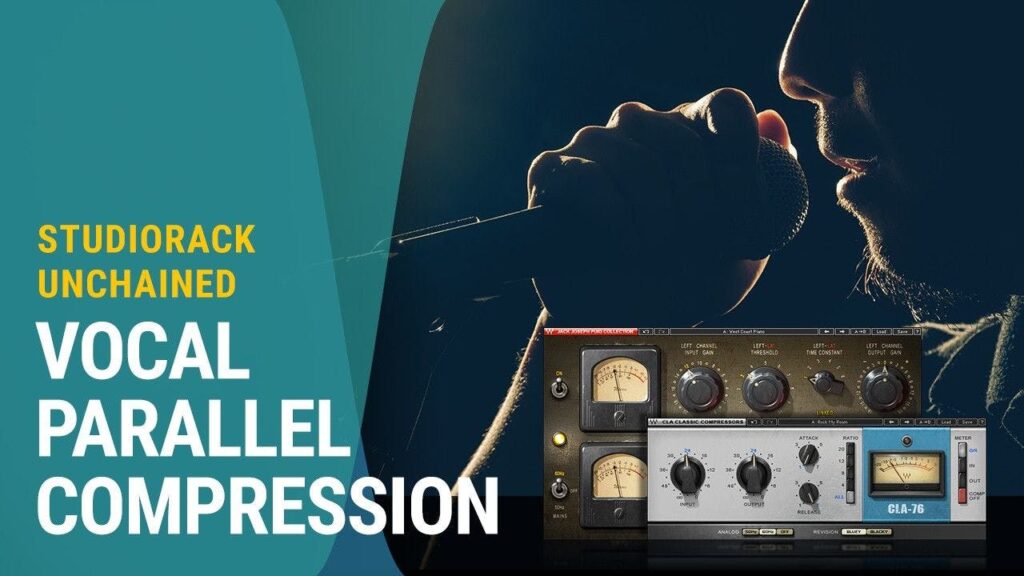
- Set the ratio to around 2:1 to 4:1, and adjust the threshold to achieve 2-3 dB of gain reduction on average.
- Use a relatively fast attack time (1-10 ms) and a medium release time (50-100 ms) to maintain dynamic control without over-compression.
Side Compression Module
- Add a Side Compression module to your rack.
- Configure the side compression settings to compress the sides of the stereo image independently from the center.
- Adjust the threshold, ratio, attack, and release settings to taste, aiming to create a wider and more balanced stereo image.
Reverb Module
- Open the Reverb module by double-clicking on it.
- Choose a reverb type (e.g., plate, room, hall) that complements your vocal style and mix.
- Adjust the decay time, pre-delay, and other settings to taste, aiming for a natural, spacious sound that doesn’t overpower the lead vocal.
Delay Module
- Open the Delay module by double-clicking on it.
- Set the delay time to a rhythmic value that complements your track’s tempo (e.g., 1/4 note, 1/8 note).
- Adjust the feedback and mix settings to create a subtle, repeating echo effect that adds depth and dimension to your vocals.
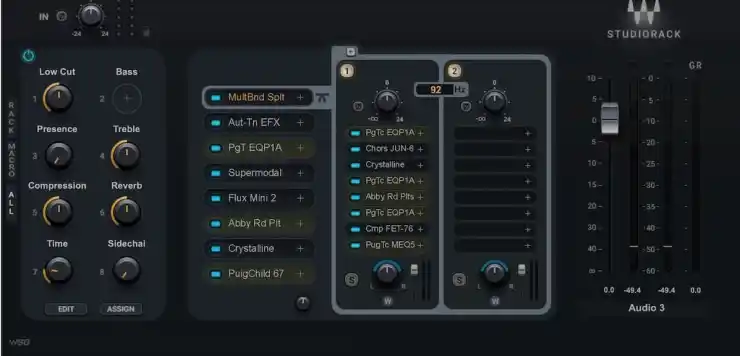
Step 4: Set Up Sidechain Compression
To create space for your lead vocal in the mix and ensure it remains audible and impactful, set up sidechain compression on key instrumental elements using Studiorack’s Sidechain Compression module.
- Add a Sidechain Compression module to your rack.
- Route the output of your lead vocal track to the sidechain input of the Sidechain Compression module.
- Adjust the threshold, ratio, attack, and release settings to taste, aiming for a subtle ducking effect that creates space for the lead vocal without sounding unnatural or pumping.
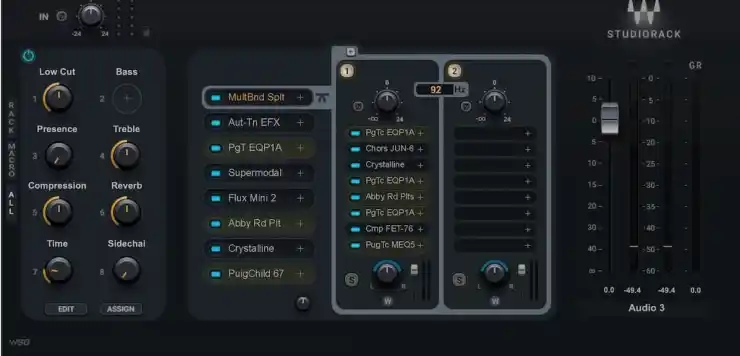
Step 5: Create a Master Chain
Finally, create a master chain within your Studiorack vocal template to apply any final processing and ensure a polished, professional sound.
- Add a Master Chain module to your rack.
- Insert a high-quality EQ plugin to make any broad tonal adjustments and ensure a balanced overall sound.
- Add a compressor plugin to apply gentle compression and glue your vocal mix together.
- Include a limiter plugin as the final plugin in your master chain to prevent clipping and ensure a consistent output level.
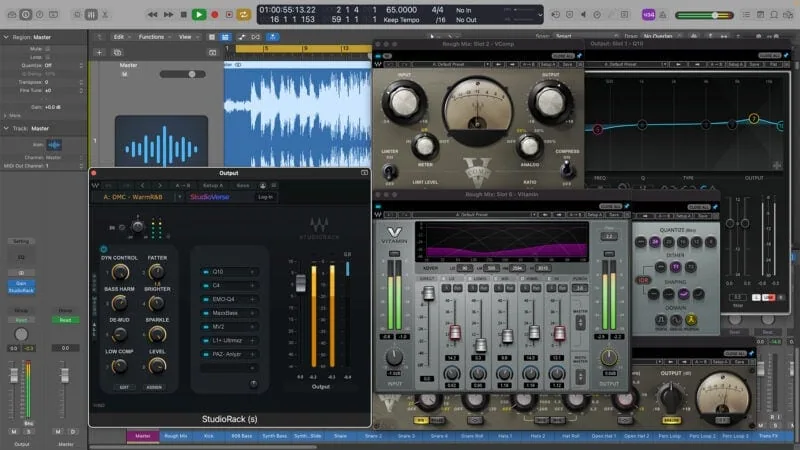
Step 6: Save and Export Your Vocal Template/Preset
Once you’ve completed setting up your vocal template in Studiorack, save it and export it for use in your DAW.
- Click on the “Save” button in the top-right corner of the Studiorack window.
- Choose a location to save your vocal template file.
- Click on the “Export” button to export your vocal template as a preset file compatible with your DAW (e.g., .fxp for FL Studio, .als for Ableton Live, .ptx for Pro Tools).
Tips for Customizing and Optimizing Your Vocal Template
- Experiment with different plugin settings: Tweak the settings of each module to suit your personal taste and the specific needs of each project.
- Incorporate your favorite plugins: Studiorack supports a wide range of third-party plugins, so don’t hesitate to incorporate your go-to tools into your vocal template.
- Optimize for different vocal styles: Create variations of your template tailored to different vocal styles (e.g., rap, pop, R&B) with processing chains optimized for each genre.
- Regularly update and refine your template: As you gain more experience and discover new techniques, continually update and refine your vocal template to ensure it remains efficient and effective.
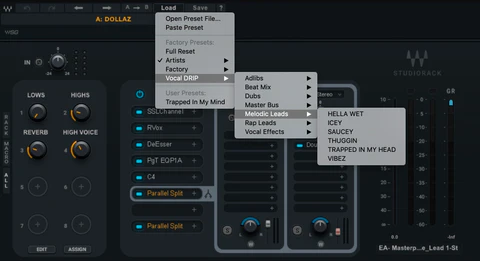
Conclusion: How To Build a Professional Vocal Template/Preset with Studiorack
Building a professional vocal template/preset with Studiorack is a powerful way to streamline your workflow and achieve consistently high-quality results. By following the steps outlined in this guide and incorporating the techniques used by industry-leading producers, you’ll be well on your way to creating polished, radio-ready vocal tracks that stand out from the crowd.
How to Achieve Professional Vocal Sounds in Any DAW
Remember, a well-crafted template is just the starting point. Always be willing to experiment, adapt, and refine your setup to suit the unique needs of each project and artist you work with. With a solid vocal template as your foundation and Studiorack’s powerful features at your fingertips, you’ll be able to focus on the creative aspects of your work and take your vocal productions to the next level.
Happy producing!


