As a full-time producer with nearly 5 years of experience, I’ve experimented with countless sounds and styles to gain a deep understanding of trap production. Today, I’m going to share my five-step formula for creating hard, dark, and aggressive trap beats in FL Studio. This method works every time, even if you’re not well-versed in music theory. Let’s dive in!
Step 1: Create Tension with Your Melody
The key to a dark, aggressive hip-hop beat lies in creating tension within your melody. Here’s how to do it:
- Set your BPM: For this tutorial, we’re working at 152 BPM.
- Choose a minor scale: Minor scales naturally create a darker mood. We’ll use C minor natural.
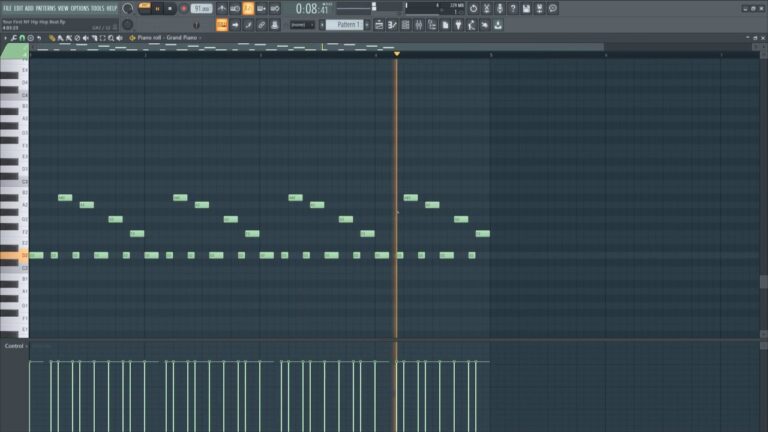
- Start with a simple chord progression: Build a triad chord by skipping notes in the scale (C, E, G).
- Use semitones to create tension: Incorporate notes that are a half-step apart, like D# and E or G# and A.
- Add rhythm and variation: Move notes around, add top notes, and create a pattern.
- Humanize your melody: Use the Alt + Left Click technique to move notes slightly off-grid and randomize velocities for a more natural feel.
Pro Tip: Don’t be afraid to experiment with different sounds. I often start with a piano and then layer with other instruments like synths or organic keys.

Step 2: Sound Selection and Layering
Once you have your basic melody, it’s time to choose the right sounds:
- Experiment with different VSTs: I use UVI Workstation and Falcon for a wide range of high-quality sounds.
- Layer your sounds: Combine different instruments to create a rich, unique texture. For example, try layering a piano with a synth pad.
- Add ambient elements: Consider incorporating pads or strings to fill out the sound and create atmosphere.
Remember, the goal is to create a dark, tense atmosphere. Look for presets that have an eerie or aggressive quality to them.
Step 3: Drum Sequencing
The drums are crucial in hip-hop production. Here’s how to sequence them for a dark, aggressive beat:
- Start with the clap or rim shot: This sets the basic rhythm.
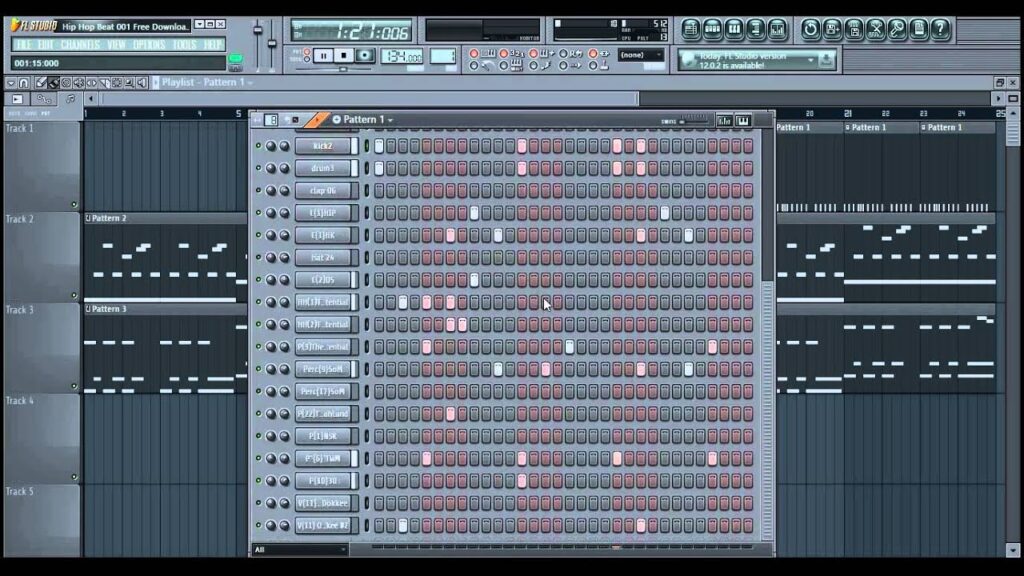
- Add hi-hats: For a fast, aggressive trap beat, place hi-hats on every two steps.
- Incorporate rolls: Add hi-hat rolls to create energy and movement.
- Layer your 808s: Use multiple 808 samples for variation and bounce.
- Add percussion: Include open hats, additional snares, or unique percs to fill out the rhythm.
Pro Tip: When adding percussion and additional elements, focus on filling the “gaps” in your main rhythm. This creates a fuller, more dynamic beat.

Step 4: Mixing
Good mixing is essential for a professional-sounding beat. Here’s a quick guide:
- Assign each element to its own mixer track.
- Level your sounds: Generally, keep your kick and 808 loudest, followed by the snare, then hi-hats and other elements.
- Pan your sounds: Create width in your mix by panning certain elements left or right.
- EQ as needed: For example, high-pass your melodies to make room for the 808.
- Use a clipper on the master channel: This allows you to push your levels without harsh digital distortion.
Remember, trust your ears more than your eyes when it comes to mixing levels.
Step 5: Arrangement
A good arrangement keeps your beat interesting throughout. Here’s a basic structure:
- Intro (8 bars): Start with a stripped-down version of your beat.
- Hook (16 bars): Introduce all elements for maximum energy.
- Verse (16 bars): Strip back some elements to make room for vocals.
- Bridge (8 bars): Create contrast by introducing new elements or removing key components.
- Outro: Gradually remove elements to end your beat.
Pro Tip: Use effects like tape stops, pitch shifts, or filters to create transitions between sections.
Conclusion
Creating dark, aggressive hip-hop beats in FL Studio is all about building tension, selecting the right sounds, crafting energetic drum patterns, mixing effectively, and arranging your elements to maintain interest. Remember, these are guidelines, not rigid rules. Don’t be afraid to experiment and develop your own unique style.
If you want to elevate your production game, I highly recommend checking out UVI’s Sonic Pass. For just $24 a month, you get access to all their products, including the UVI Workstation and Falcon that I used in this tutorial. It’s an incredible value for the quality and variety of sounds you get.
Keep practicing, stay curious, and most importantly, have fun with your music production journey!
Want to see this process in action? Check out the full video tutorial here:


